
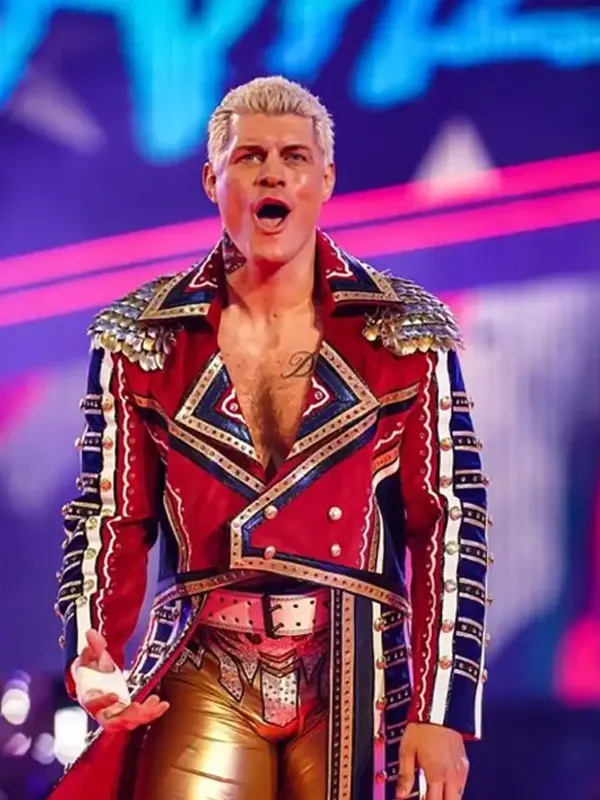
Okay, so I’ve been wanting to make a Cody Rhodes-style coat for a while now. I mean, that thing is iconic, right? So I finally decided to just go for it. Here’s how the whole thing went down.
The Hunt for Materials
First things first, I needed to find the right materials. I spent a good few hours just browsing online, trying to find fabrics that looked like they’d work. This was harder than I thought! I wasn’t going for 100% accuracy, more of an “inspired by” vibe, so I had some flexibility, thankfully.
- Main Fabric: I wanted something with a bit of weight and a good drape. After a lot of searching, I ended up getting some kind of heavy-ish white fabric – it’s not perfect, but it was the closest I could find.
- Lining: For the inside, I just went with a simple, smooth satin. Comfort is key, you know?
- Trim: This was the tricky part. Finding that perfect gold trim was a pain. Eventually, I settled on some broad gold trim.
- Other Stuff: And of course, I needed thread, interfacing (to give the collar and stuff some structure), and a zipper. Lots and lots of thread.
Putting It All Together
So, the actual construction. This was definitely a learning experience. I’m not a professional tailor or anything, I’m just an experienced hobbyist, so I had to figure a lot of things out as I went.
I started by sketching out a basic pattern. I used a coat I already owned as a bit of a guide, then I add a collar, made the lapels bigger, and change the whole shape to make it more like Cody’s. It was pretty rough, but it was enough to get me started.
Cutting the fabric was nerve-wracking. Measure twice, cut once, right? I slowly cut out all the pieces, adding extra seam allowance just in case (thank goodness I did!).
Next up was sewing. I started with the main body of the coat, then added the lining. The sleeves were a bit of a challenge, but I managed to get them in without too much trouble.
The collar and lapels were probably the most time-consuming part. I used a bunch of interfacing to make them stiff, then carefully shaped them and sewed them on. This took a few tries to get right, let me tell you!
Then came the trim. I pinned it all in place first, then very, very carefully sewed it on. Slow and steady wins the race, especially when you’re dealing with something that shiny.
Finally finished, and added a front zipper.
The Final Result
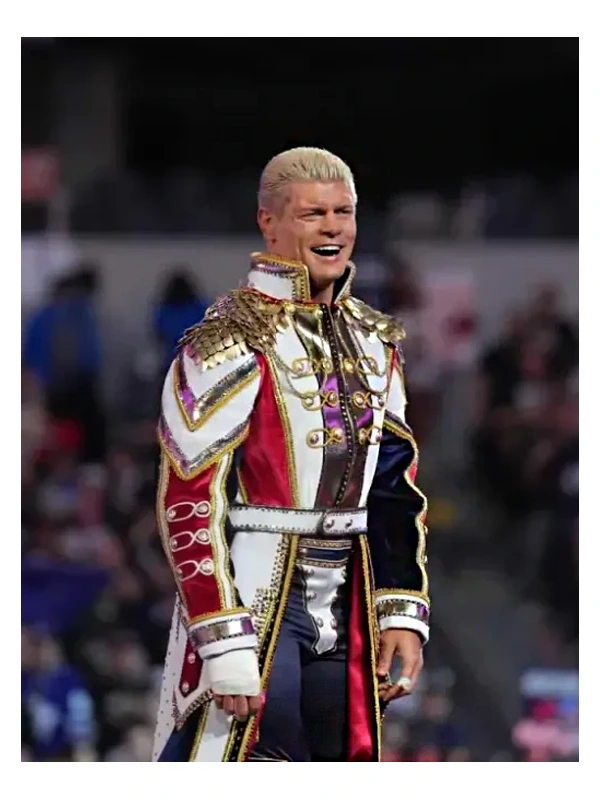
I’m actually really happy with how it turned out! It’s not an exact replica, but it definitely captures the spirit of Cody Rhodes’s entrance coat. It’s got the big collar, the wide lapels, and of course, all that gold trim. I learned a lot along the way, and I’m already thinking about what I’ll make next. Maybe something with even more rhinestones…


